This gear guide is simply to describe what I personally use in the field based off the
different tools and detectors I’ve tried over the years. I understand there are many of you out
there that have specific tools, detectors, bags, shovels, and tricks that help you dig easier and
more efficient. This guide is to inform and help others beginning in the hobby we all love.

Land Detecting
Before you decide to go to a land site, there are several things you should consider before
picking out what gear to bring.
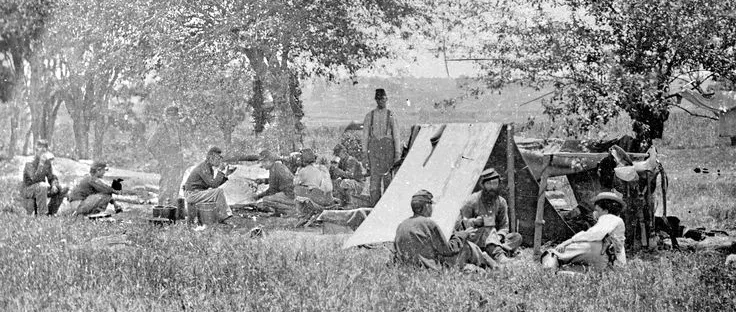
1) Does the potential site have a house site located on it?
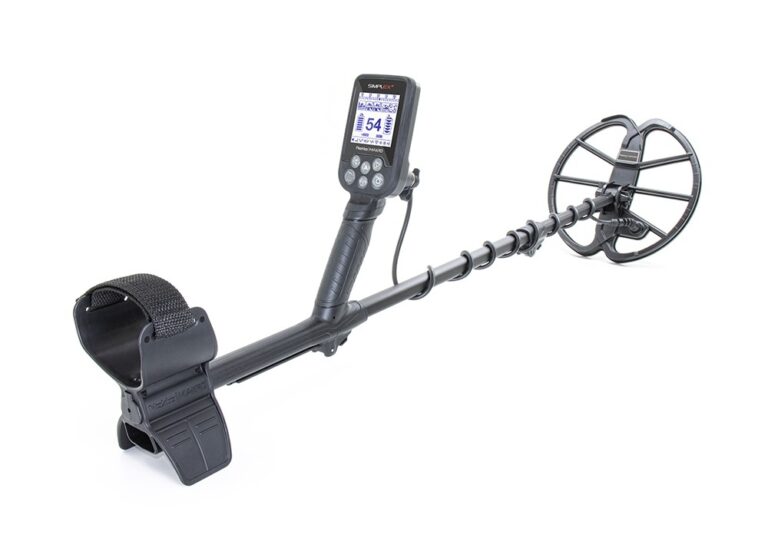
a) If so, I personally would bring my XP Deus ii. Knowing there was a house site on this
permission means there will be lots of iron that will be hiding those small desirable
targets.
2) Is the permission a large site with lots of farm fields?
a) If there is an abundance of fields and you will spend most of the day scouting trying to
find “hot pockets” of relics, then I would consider bringing a machine with a larger coil
to cover more ground and go a little deeper than a machine with a stock or small coil.
My personal go to machine in a situation like this is the Minelab GPX 4500.
b) Sunscreen is always a good thing to have with you especially during the summer
months.
3) What are the soil conditions of the site?
a) For anyone who is familiar with hunting “hot soil” (highly mineralized soil) then you will
know that a VLF machine in these conditions are not ideal. A VLF machine will work but
they tend to lose most if the depth and they will not give you a consistent or accurate ID
on the VDI and they tones can sound more like iron. In Hot Soil I will 100% of the time
use the Minelab GPX 4500. This is the go-to machine because it’s a pulse induction
machine that is not interfered with by the hot soil conditions (seen a lot in Northern
Virginia).
4) Is the site mostly a wooded area?
a) In a wooded area that has normal soil conditions, I love to grab my Equinox 800. Its
light, wireless, and I can throw on the larger coil to get me down deep.
b) Depending on the time of year, its always a good idea to bring some bug spray to keep
the ticks and mosquitos from ruining your good time.
c) If its hunting season, please wear blaze orange so you can be seen clearly.
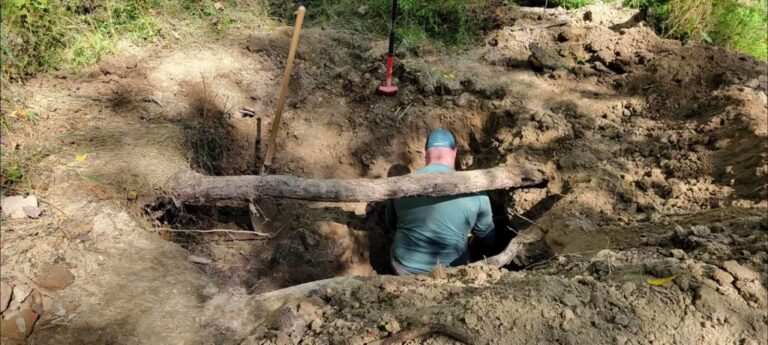
d) A good shovel with serrated edges to cut through roots will save you lots of time.

While metal detecting on land, there are a few items that I always have with me no matter
what the conditions are.
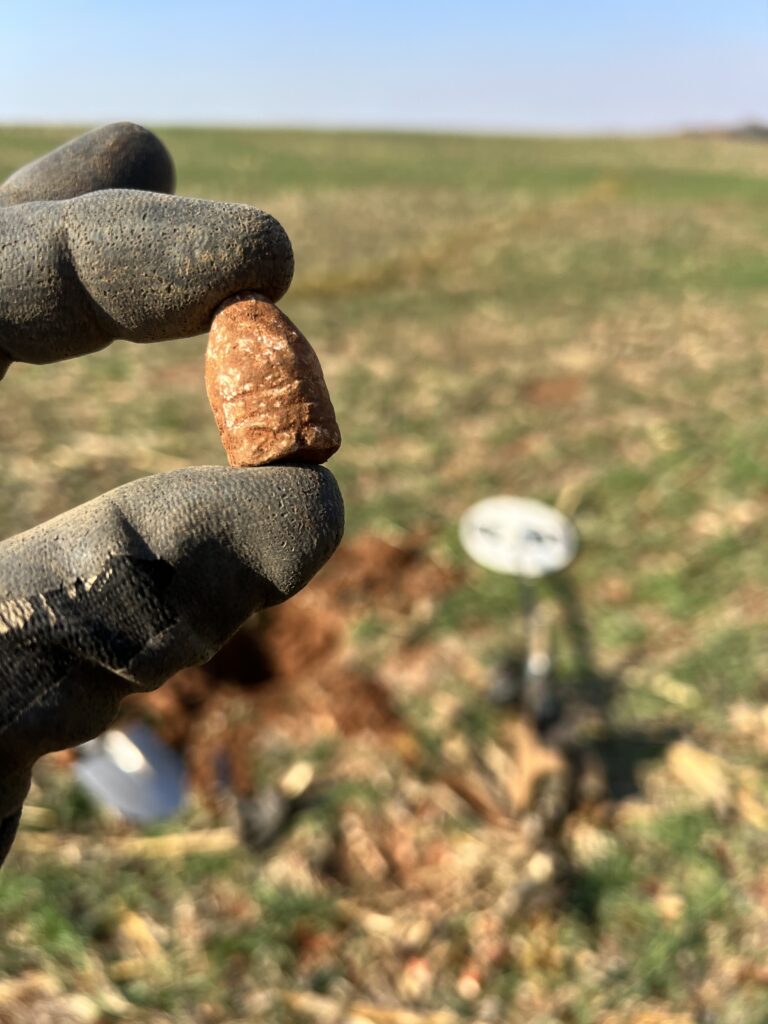
i) Pin Pointer – this will save you tons of time trying to pin point the smaller targets to
retrieve faster and also not damage the artifact.
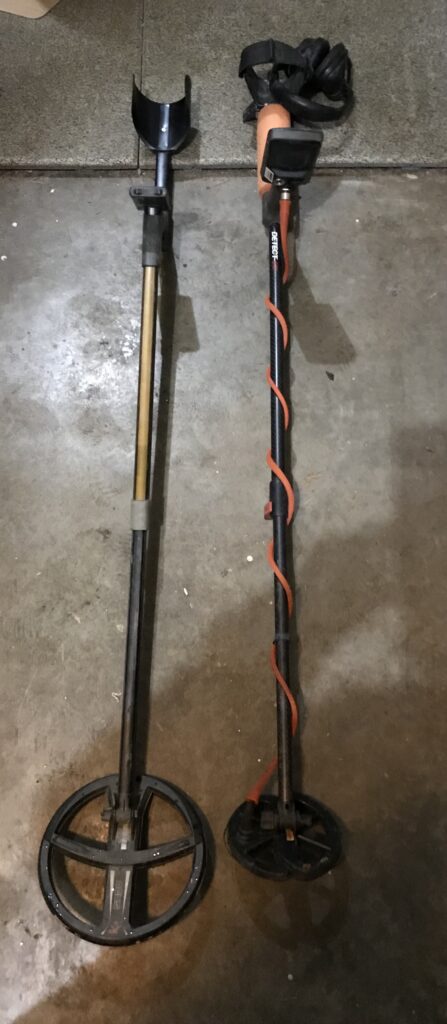
ii) Shovel – big fields I typically use a standard spade shovel. In woods I use a shovel
with serrated edges, and when digging in yards I normally only use a hand lesche
tool.
iii) Finds pouch – I always use a army surplus harness with some pouches attached to it
for putting the desirables and trash. Always take your trash out with you. Don’t put
undesirable targets back into the ground.
iv) Hand digger – I prefer the Lesche hand digging tool. Once I dig the initial plug, the
had digger does the rest of the job. This is to keep from damaging the artifact.
v) Water and food – always stay hydrated and snack throughout the day
Water/Beach Detecting
Make sure before you go detecting in the water or on the beach that you have a valid permit
stating you are allowed to detect in the waterways. If you are on a beach, always be sure to
check that metal detecting is permitted on that specific beach, some localities differ from
others.
I typically use the same set up for all of my water detecting.
1) Minelab Equinox 800 is my go-to detector in the water. The machine has a multi frequency
that can handle the salt in the beach and rivers.
2) Garrett “Carrot” Pin Pointer – I’ve had the best luck in the water with these pin pointers.
The only issue is even though they are water proof… I’ve flooded several and it gets
expensive. One way to help keep the pin pointer from flooding is to add some plumbers
“pipe dope” to the threads where the battery compartment is. I haven’t has any leaks since
doing that method.
3) Scoop – a scoop with a long handle on it is great for digging in the sandy beaches or rivers, if
scoops are permitted in the state you in (Virginia no longer allows the use of scoops in
rivers)
4) Finds pouch – I use a “Grey Ghost” pouch that has mesh on the bottom to drain water out
and it has a pocket to hold the pin pointer, as well as separate pockets for desirables and
non-desirables.
5) Small 6” coil in rivers – the 6” coil in the rivers is ideal for me because the smaller coil
creates less drag/resistance in the water. This will help keep you from getting fatigued early
on in the day. It also helps separate the ferrous and nonferrous targets better than the
larger coils.
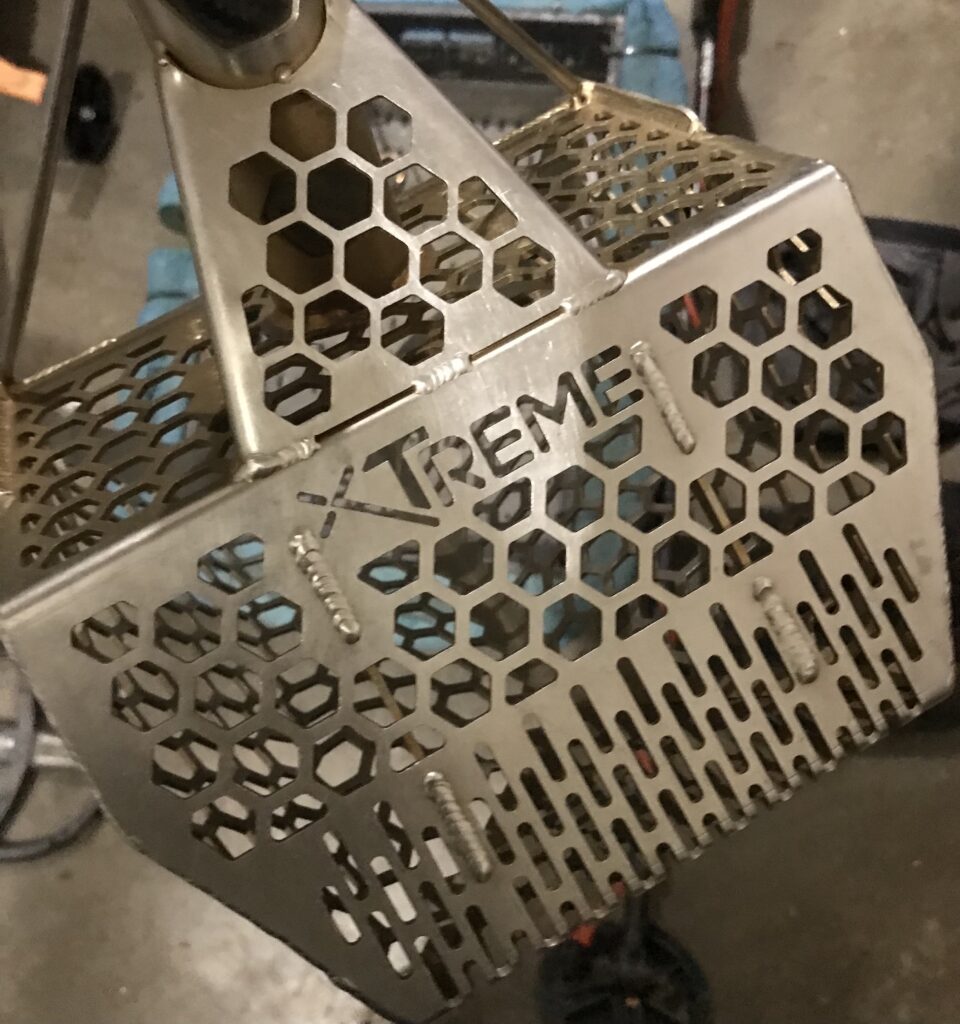
6) Floating basket – when detecting in the water, its much easier to scoop the target area and
dump the soil into a floating basket. This way you can have the target in a spot that you can
pin point, locate, and manage more easily. While digging for relics, I’ve been fortunate
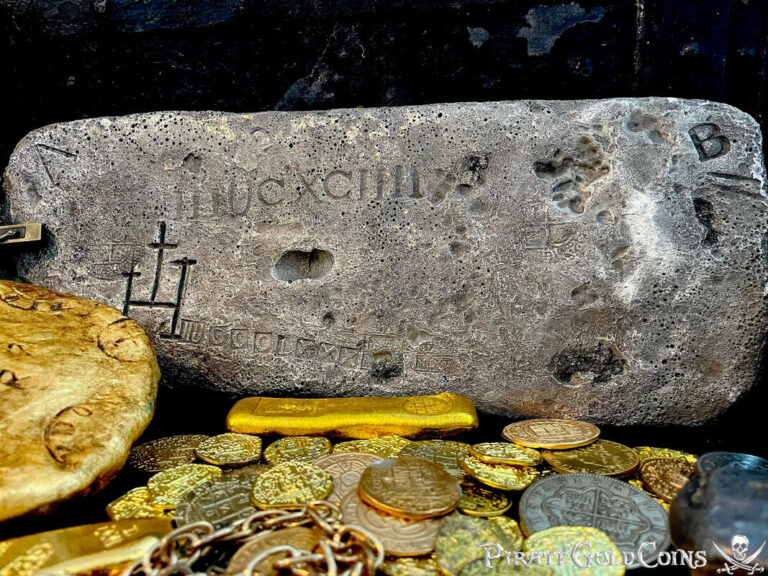
enough in several occasions to have a Indian point land in the basket from a scooping a
target. It works great as a sifter as well.
7) Sunscreen, bug spray, water, food, and a boat/kayak are always something you will need on
every trip.
Please be safe and do your research before going to any site. Always have permission or
Ross Walker – Gone Diggin
permits for where ever you go. Fill in your holes and take your trash out with you.
Have fun!